By Chip Coker KD4C
There are several ways that you can participate in the May 2025 RWK Balloon Launch. If you want to participate from the comfort of your shack, here’s what you can do:
Follow the launch on VHF 2M Radio and Watch the Balloon Progress
You can listen to the launch status on the 147.12 Repeater and the 146.52 Simplex channels. We will make periodic announcements prior to and during the launch. If everything goes according to plan, the launch should be around 9am and ascent should be for the next 2 hours (9am-11am). We expect balloon pop around 11am and then descent will either be 1 hour or 15 minutes (depending on how well the parachute deploys).
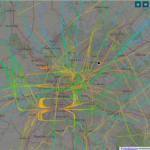
You can watch the progress on the balloon on the amateur.sondehub.org website. It will show you the balloon position as well as the locations of all the tracking stations that are receiving position reports.

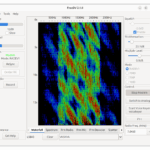
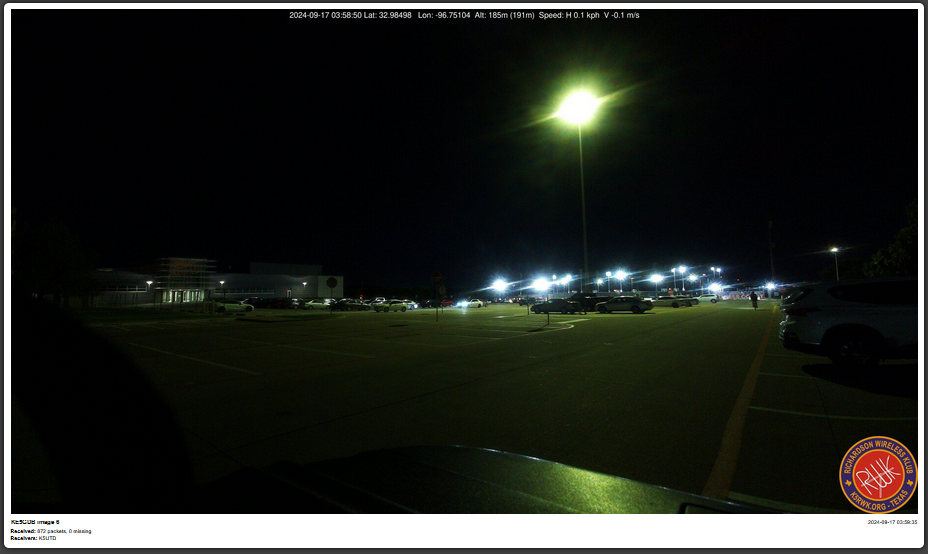
We will have a high-resolution camera on the balloon that will transmit HD images in real time in “SSDV” (Slow-Scan Digital Video). This is similar to SSTV in that it’s still-frame images, but much higher resolution. You can view the received images on the ssdv.habhub.org website. Habhub receives all the packets that have been received and reassembles back into complete images, which you can view there.
And speaking of tracking stations….
Help Us Track the Balloon While It’s In The Air
We need as many balloon trackers as we can get, preferably as close to Denton and Collin county as possible. The easiest way to do this is to build your own All-In-One Tracking Station. Using a Raspberry Pi 4 or 5 and an RTL-SDR, you can receive the Wenet (HD pictures) and Horus Binary (position and altitude tracking) payloads from the balloon at the same time. Check out the details here.
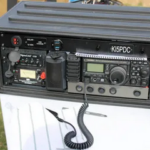
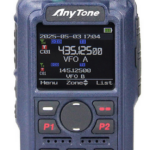
If you don’t want to build a tracking receiver, you can still receive the position telemetry using what you have in your shack. The balloon will be transmitting telemetry on 432.700MHz and 432.800MHz. The telemetry is in “Horus Binary v2” modulation, which is 4FSK, 100 baud. While that may sound strange, you can easily receive this several ways: 1) Using a multi-mode VHF/UHF radio (or “shack-in-the-box” radio such as an FT-991 or Icom IC-705) operating in USB mode, 2) Using a cheap Software Defined Radio such as a SDRplay, Nooelec, or RTL-SDR, or 3) using one of the recently-popular Quansheng UV-K5(8) HTs with the Egzumer or the F4HWN firmware. You will need to receive in Upper Sideband (USB) mode to hear the 4FSK telemetry (tune to 432.699MHz USB or 432.799MHz) – you cannot receive it on an FM only receiver. You will either need a decent outside-mounted antenna or physically be close to the balloon path (such as in upper Denton/Collin county)
You will need to either couple the received audio to a computer (windows is easiest) via a radio USB port (if there is one) or SDR software or just audio coupling (radio audio out a speaker to the microphone in the computer).
On the computer you will need to run the Horus-GUI software. This will decode the telemetry from the received audio and will also upload the decoded data to the amateur.sondehub.org tracking site so it will be visible to the tracking/recovery teams.

You can read more about building a tracking station here.
Communicate through the DMR Single Frequency Repeater
After the Balloon is in the air, the DMR Single-Frequency Repeater will be active. Since DMR has two timeslots (T1 and T2), some DMR radios can “listen” on one slot and “transmit” on the other at the same time. This allows you to transmit to the balloon and be received by all other DMR radios at the same time – just like a mini repeater in the sky. The last couple of times this flew, the range was hundreds of miles, from south Texas to Oklahoma. It was amazing.
To communicate through the DMR SFR, you will need a DMR-equipped radio (HT or mobile), preferably with an improved or external antenna. The radio needs to be programmed in advance (since DMR radios are hard to program from the panel). Program a new channel: Simplex 1: 441.000MHz RX, 441.000MHz TX, CC1 (Color Code 1), TG99 (Talk Group 99), TS1 (Timeslot 1). If you have receive groups, make sure that TG99 is in your receive groups list. https://dmrtexas.net/doku.php?id=repeaters:simplex-channels).
Here are more instructions on How To Program Your DMR Radio for the Balloon Single-Frequency Repeater. We want to know how far you can talk and how many stations you can work!
Receive SSTV Images from the Balloon
We are also planning to have a traditional SSTV transmitter running on 432.5MHz FM. You should be able to receive SSTV images on a HT and use one of the smartphone SSTV apps (I use CQSSTV on my iPhone) to decode the image. If you have a mobile or base FM radio in your shack, you can connect the audio output to a PC and use MMSSTV (free download) to receive and save the SSTV images received from the balloon. SSTV mode is Robot36 and there should be a new image every 90 seconds or so.
Listen to the KD5OUG Digi-talker
There will be voice telemetry on 146.52MHz from a KD5OUG payload. It will broadcast altitude and other telemetry values periodically on 146.52 FM. You should be able to receive that with an HT or mobile radio once the balloon is in the air.
Track How Far the WSPR Signal goes
One of the payloads (provided by K5UTD) is a WSPR (weak signal propagation reporter) transmitter. It will be transmitting (very low power) on 20M at 14,097,060MHz. You can use your FT-8 software (WSJT-X) to receive this signal. Change the mode to WSPR and the band to 20M (the list and your radio will show 14095.60 MHz USB) and you should receive the stations that are currently transmitting (Note: WSPR signals are very loooooongg – 2 minute transmit cycles – so you might have to wait up to 10 minutes to receive all the stations). Look for K5UTD in the list of callsigns and let us know if you see it! You can also track how the WSPR signals are heard around the world – just go to https://www.wsprnet.org/ and search for K5UTD.
Help Us Receive HD Images from the Balloon in Real Time
As mentioned above, we will have a high-resolution camera on the balloon that will transmit hi-res images in real time in “SSDV” (Slow-Scan Digital Video). This is similar to SSTV in that it’s still-frame images, but much higher resolution. The images are also packetized, so we can still see incomplete images because someone else may have received the packets that you missed.
If you built the All-In-One tracking station, then you’re already receiving the Wenet/SSDV images (assuming you have a decent antenna). You can see what you are receiving by connecting to your tracking station: http://[IP of your Raspberry Pi]:5003/ and you will see what packets you are receiving in real time.

You will need a very good outside antenna (yagi preferred) as the transmitter is not very powerful and the bandwidth is quite wide. The Raspberry Pi running the wenet image also needs an internet connection (either through your home wi-fi or phone hotspot) so you can upload the received packets to the ssdv.habhub.org website. Habhub receives and reassembles all the packets back into complete images, which you can view there.
Apply For The Prestigious “Worked All Payloads” Award/QSL
We’re planning a nice award for those that demonstrate the ways that they participated in the launch, and you can qualify even from the comfort of your shack! Just fill out the form below and let us know what you did during the balloon launch (and send us pics! to balloon@k5rwk.org).